Change Roof Pattern
Project Video
1. Introduction
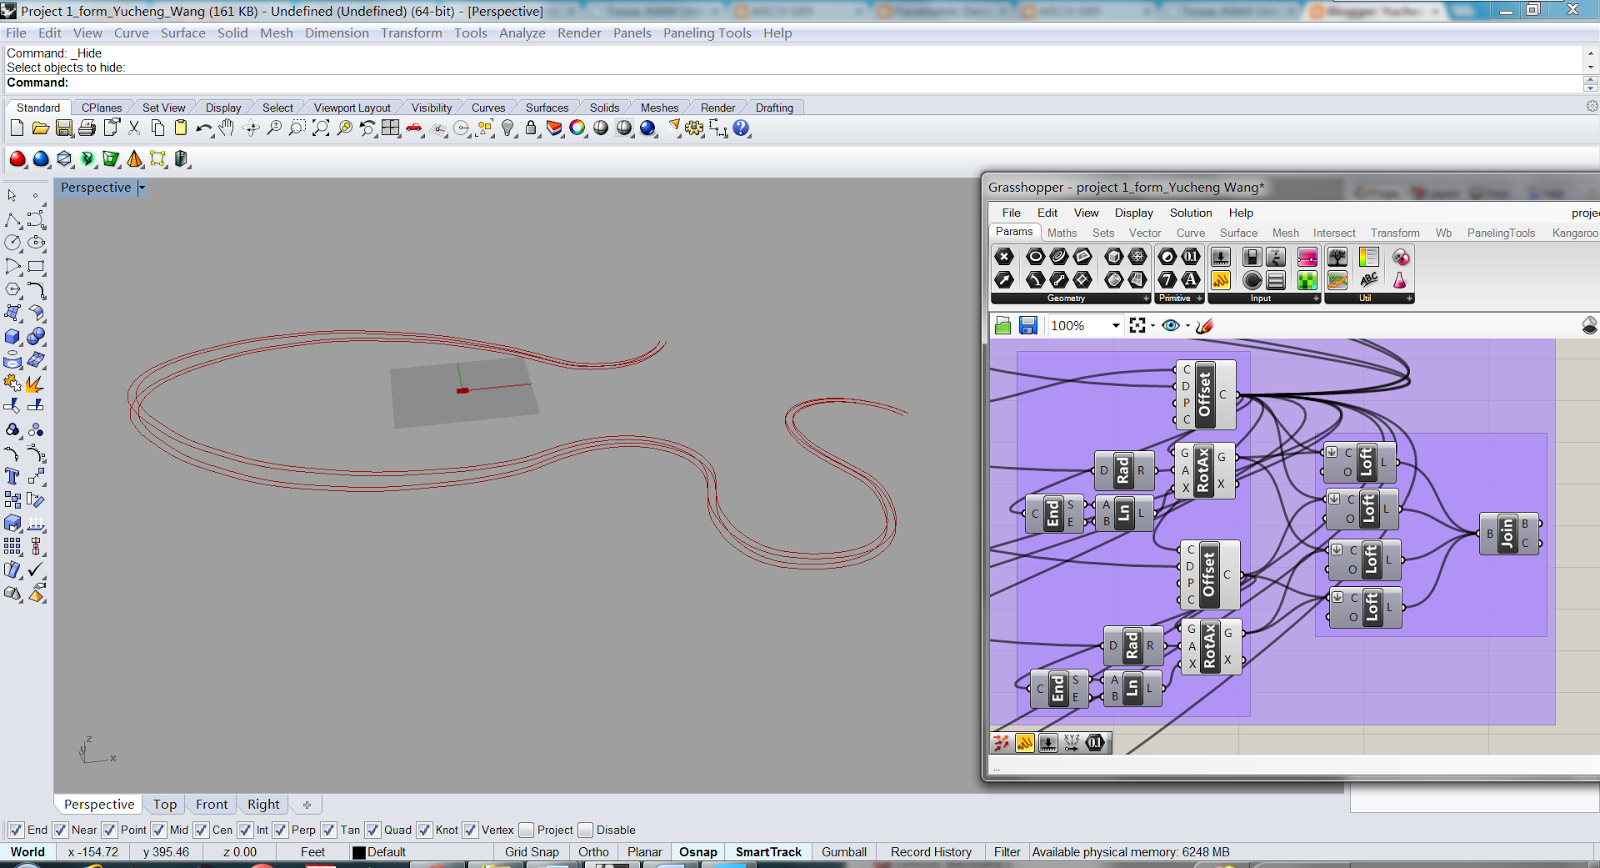
For the model I created in project 1, the roof top of the model could be changed to be more interesting. Thus, in this project, I will apply paneling tools to change the roof pattern according to modules I created or pipe patterns with various changeable parameters.
2. Design Intent
#1. Add module patterns on the roof
To add module patterns on the roof top, a 'module pattern engine' should be created. Then, different module patterns can be added on the roof individually or together.
#2. Add pipe pattern on the roof
Use appropriate paneling nodes to create different pipe pattern on roof, and the pipe pattern can be changed according to different parameters.
3. Module Patterns
#1. Create module pattern engine
One of the roof top in project 1 model was selected as the surface reference component.

Intended Area
I chose the grid by domain number node in paneling tools to feed the surface into a grid.

Feed the surface into a grid
Then I used ptCoordinate node in paneling tools to calculate the normal direction at each grid point. Thus I can use the z vector from the calculation to offset the grid in a direction normal to the surface, by using the amplitude node and move node in grasshopper.

Offset the grid in a direction normal to the surface
Then I created an attractor curve in Rhino, and used the curve attraction node in paneling tools to calculate weights at each grid point to control the module pattern distribution.

Create attractor curve and calculate weights
Then I used morph 3D list node in paneling tools to apply module pattern on the surface.
#2. Apply cuboid module pattern on the surface
I created different cuboid module meshes with different opening sizes in Rhino, and selected them as mesh reference in grasshopper.

Create cuboid module pattern
Then I connected the cuboid module pattern to the morph 3D list node to add this pattern on the roof.

Add cuboid module pattern on the roof
The module pattern distribution can be controlled by the position of attractor curve.


Control the module pattern distribution
#3. Apply cylinder module pattern on the surface
First I created a cylinder as module pattern, which can be changed according to various parameters.

Create changeable cylinder
Then I connected the cylinder module pattern to the morph 3D list node to add this pattern on the roof.

Add cylinder module pattern on the roof
#4. Add the cuboid module pattern and the cylinder module pattern together on the surface
The cuboid module and the cylinder module can be connected to the morph 3D list node together.

Add the cuboid module and the cylinder module together
The module patterns distribution can also be controlled by the position of attractor curve.


Control the module pattern distribution
4. Pipe Patterns
#1. Grid Pattern
The same as adding module pattern on the surface, I firstly used the grid by domain number node in paneling tools to feed the surface into a grid. Then I used the panel grid node to connect each point on the grid.

Connect each point on the grid
Then I used pipe node in grasshopper to create pipes based on the curves.

Create pipes based on the curves
#2. Diamond Pattern
The same as adding grid pattern on the surface, I firstly used the grid by domain number node in paneling tools to feed the surface into a grid. Then I used the convert to diamond node in paneling tools to create a diamond grid.

Create diamond grid
Then I used cellulate node in paneling tools to generate list of wires of paneling cells to limit the curves within the surface.

Generate list of wires within the surface
Then I used pipe node in grasshopper to create pipes based on the wires.

Create pipes based on the wires
5. Conclusion
By using paneling tools and further exploring different functions of paneling tool components, a lot of different patterns can be created and added to customized surfaces.


